Only non wordpress site owners can know how difficult is life for one. Me as a .net developer rather preffer build own blog engine, than to use existing, popular and tested. You know for us developers any solution isn't good enough, but that's how progress starts :).
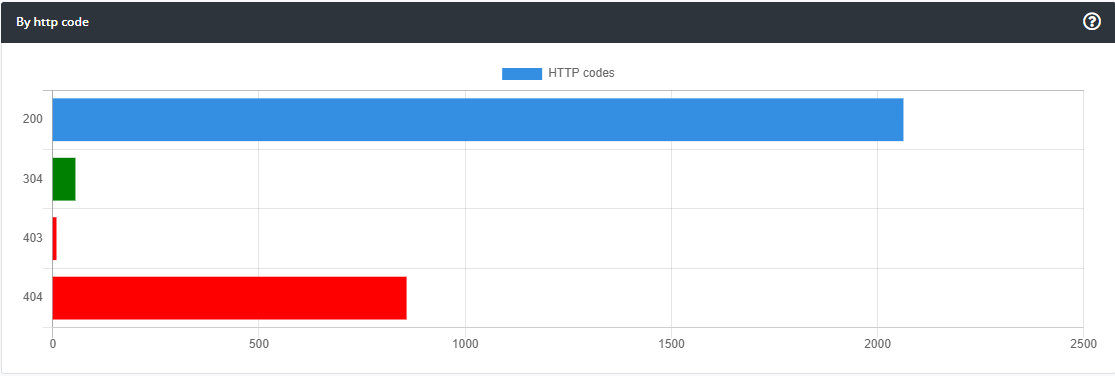
Based on my observation and analytics of this very blog, more than 30% requests are addressed to wordpress pages, plugins and etc.

The majority of requests come from bots use similar crawl pattern:
*/wp-admin/*
*/wp-includes/*
*/wp-content/*
Hardly bot requests can cause troubles, if it is not well organized mass attack, however, there are always manual attempts that might be concerning.
To know better the person who tries to hack your web site, normally you set what is called honey token which is useless for potential intruder, but can give you some details about him and his activity.
In this post I will show you how can you setup a honey token with Konso in minutes and start learning about your "friends".
Prerequisites
- If you don't have a konso account create a one now, it is free
- Create Konso bucket
- Basic .NET MVC routing
Konso setup (5 minutes)
First you will need to add Value Tracking API to your bucket. Go to Settings/Usage screen and click Add API button

Than choose Value Tracking and click "save" button
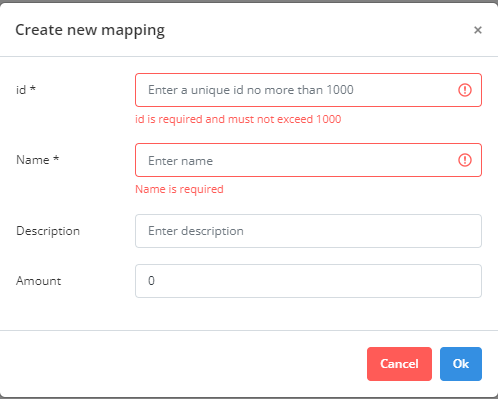
For easy event trace and readability you need name it. Go to Observability/Value Tracking/Mappings and click create a new mapping button
Define ID and name for the event

That's it for Konso setup
Code level tracing (10 minutes)
For example purposes I will use simple controller that prints welcome message.
Let's setup konso client library to your project
Install-Package Konso.Clients.ValueTracking -Version 1.1.0
Now we need to add a configuration
Add config to appsettings.json:
"Konso": {
    "ValueTracking": {
        "Endpoint": "https://apis.konso.io",
        "BucketId": "<your bucket id>",
        "ApiKey": "<bucket's access key>"
    }
}
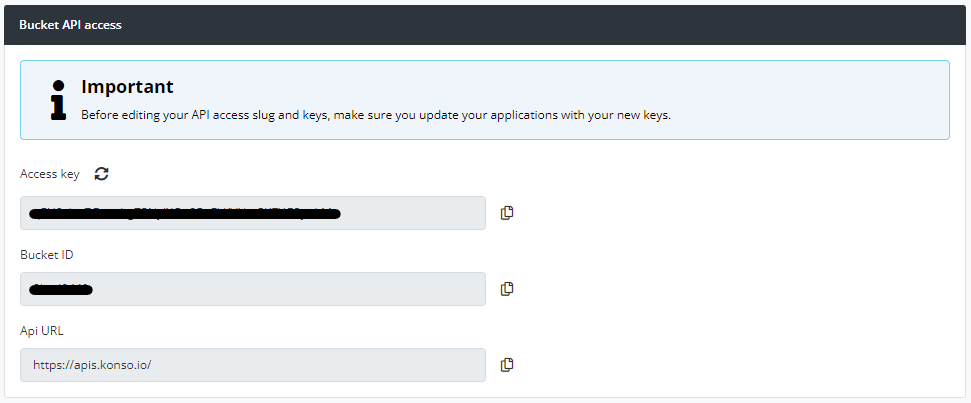
Your access details can be found at Settings/API access

It uses HttpClientFactory:
public void ConfigureServices(IServiceCollection services)
{
    // use httpclient factory
    services.AddHttpClient();
    services.AddSingleton<IValueTrackingClient, ValueTrackingClient>();
}
Resolve the service in class constractor:
private readonly IValueTrackingClient _valueTrackingService;
public SomeClass(IValueTrackingClient valueTrackingService)
{
    _valueTrackingService = valueTrackingService;
}
Create a simple contorller action
        [Route("/wp-admin/{*pathInfo}")]
        [Route("/wp-includes/{*pathInfo}")]
        [Route("/wp-content/{*pathInfo}")]
        public async Task<ContentResult> HoneyToken(string pathInfo)
        {
            await _valueTrackingService.CreateAsync(new ValueTrackingCreateRequest()
            {
                AppName = "blog", // (optional) application name
                EventId = 60, // id of event defined in konso
                Tags = new List<string>() { "security", "honeytoken" }, // (optional) list of tags associated with the event
                Browser = Request.Headers["User-Agent"],
                IP = ,// your bits for getting client ip address
                Custom = pathInfo
            }) ;
            var sb = new StringBuilder();
            sb.AppendLine("Greetings my new friend, it is nice to meet you!");
            Response.StatusCode = (int)HttpStatusCode.Forbidden;
            return this.Content(sb.ToString(), "text/plain", Encoding.UTF8);
        }
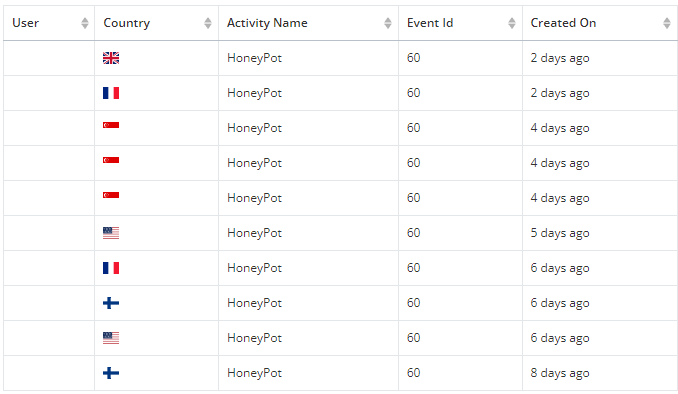
That's it for the setup now you can explore suspicious activity.

As I said before this trivial example and can be extended to some cool stuff such as fake login form and so forth.
No comments are allowed for this post